
Hey students!
Old cast iron tubs are… OLD. And a lot of them show their age. They discolor, chip, and generally look pretty worn the older they are. I have torn out a lot of cast iron tubs in my bathroom remodeling career, and I’m here to tell you DON’T DO IT. They don’t make tubs like they used to, and these cast iron tubs are rock solid and feel much more substantial than those new acrylic ones.
There is an affordable, DIY way to fix your dingy cast iron bathtub. It’s called Ekopel (and no, this is NOT sponsored). It’s a complete tub refinishing kit you can order off of Amazon, and it seriously makes your cast iron tub look BRAND SPANKING NEW. I recently used it to finish a cast iron tub I tore out of an client’s home, and I was incredibly pleased with the results (and so was my wife!).
This video details exactly how I refinished the tub and what products I used to get the best results.
To begin, make sure your tub is clean and the room is warm. The epoxy finish won’t be able to adhere properly in cold temperatures. Here I am next to a very nasty cast iron tub with the tub refinishing kit below.

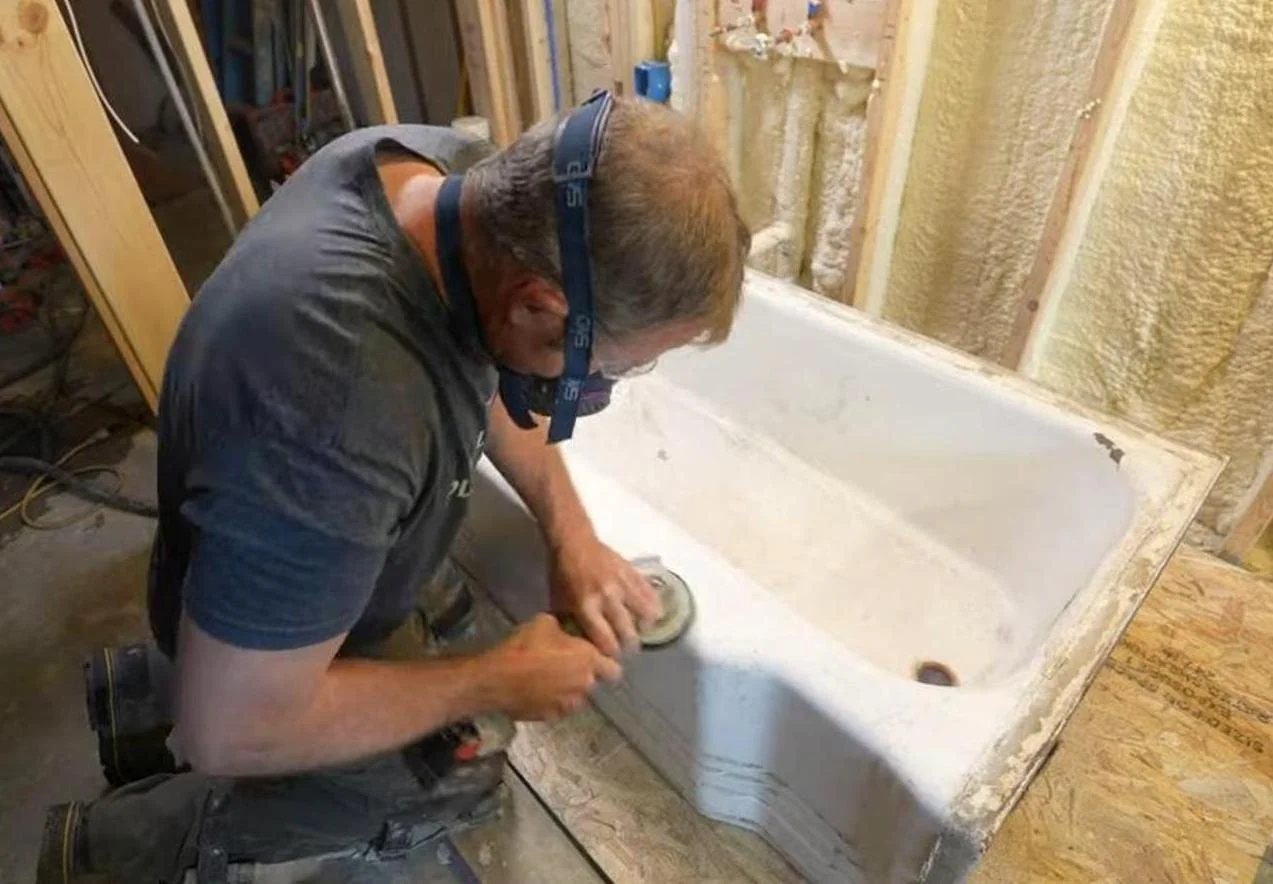
Next up is sanding your tub to remove any flakes and chips, and then giving it a good cleaning scrub. The sanding also helps with the application of the epoxy finish.
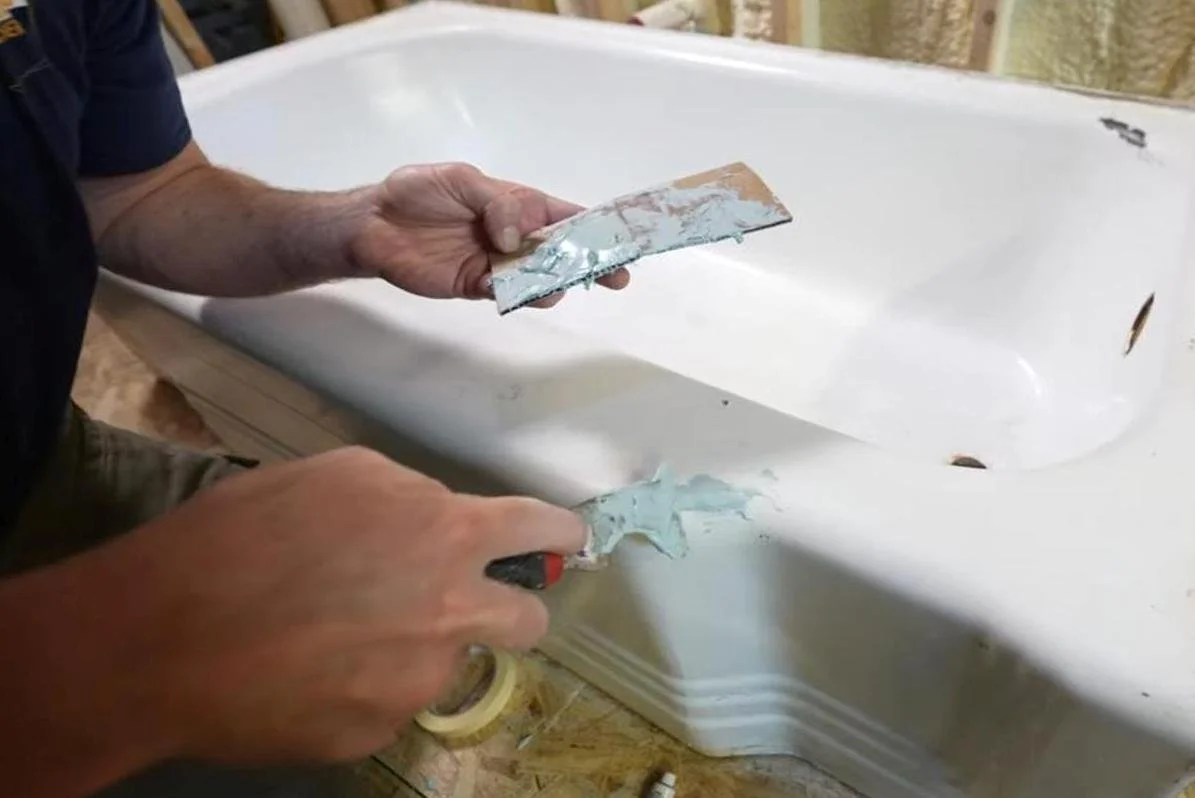
I then scraped off any existing silicone on the tub, and used Bondo to fill in all the chips and dents.
The trick is to pour the finish; don’t brush it on. Once the epoxy covers the walls of the tub, you can definitely manipulate it with a foam roller. But, let gravity do most of the work. A heating gun is crucial, as well, to get rid of any air pockets and pinholes. Don’t use a hair dryer. The air movement will cause all dust and particles to kick up and stick in your epoxy finish.
{Note: I’ve got to emphasize how much dust and debris is your enemy when you apply the epoxy finish. Make sure everything is as clean as possible.}

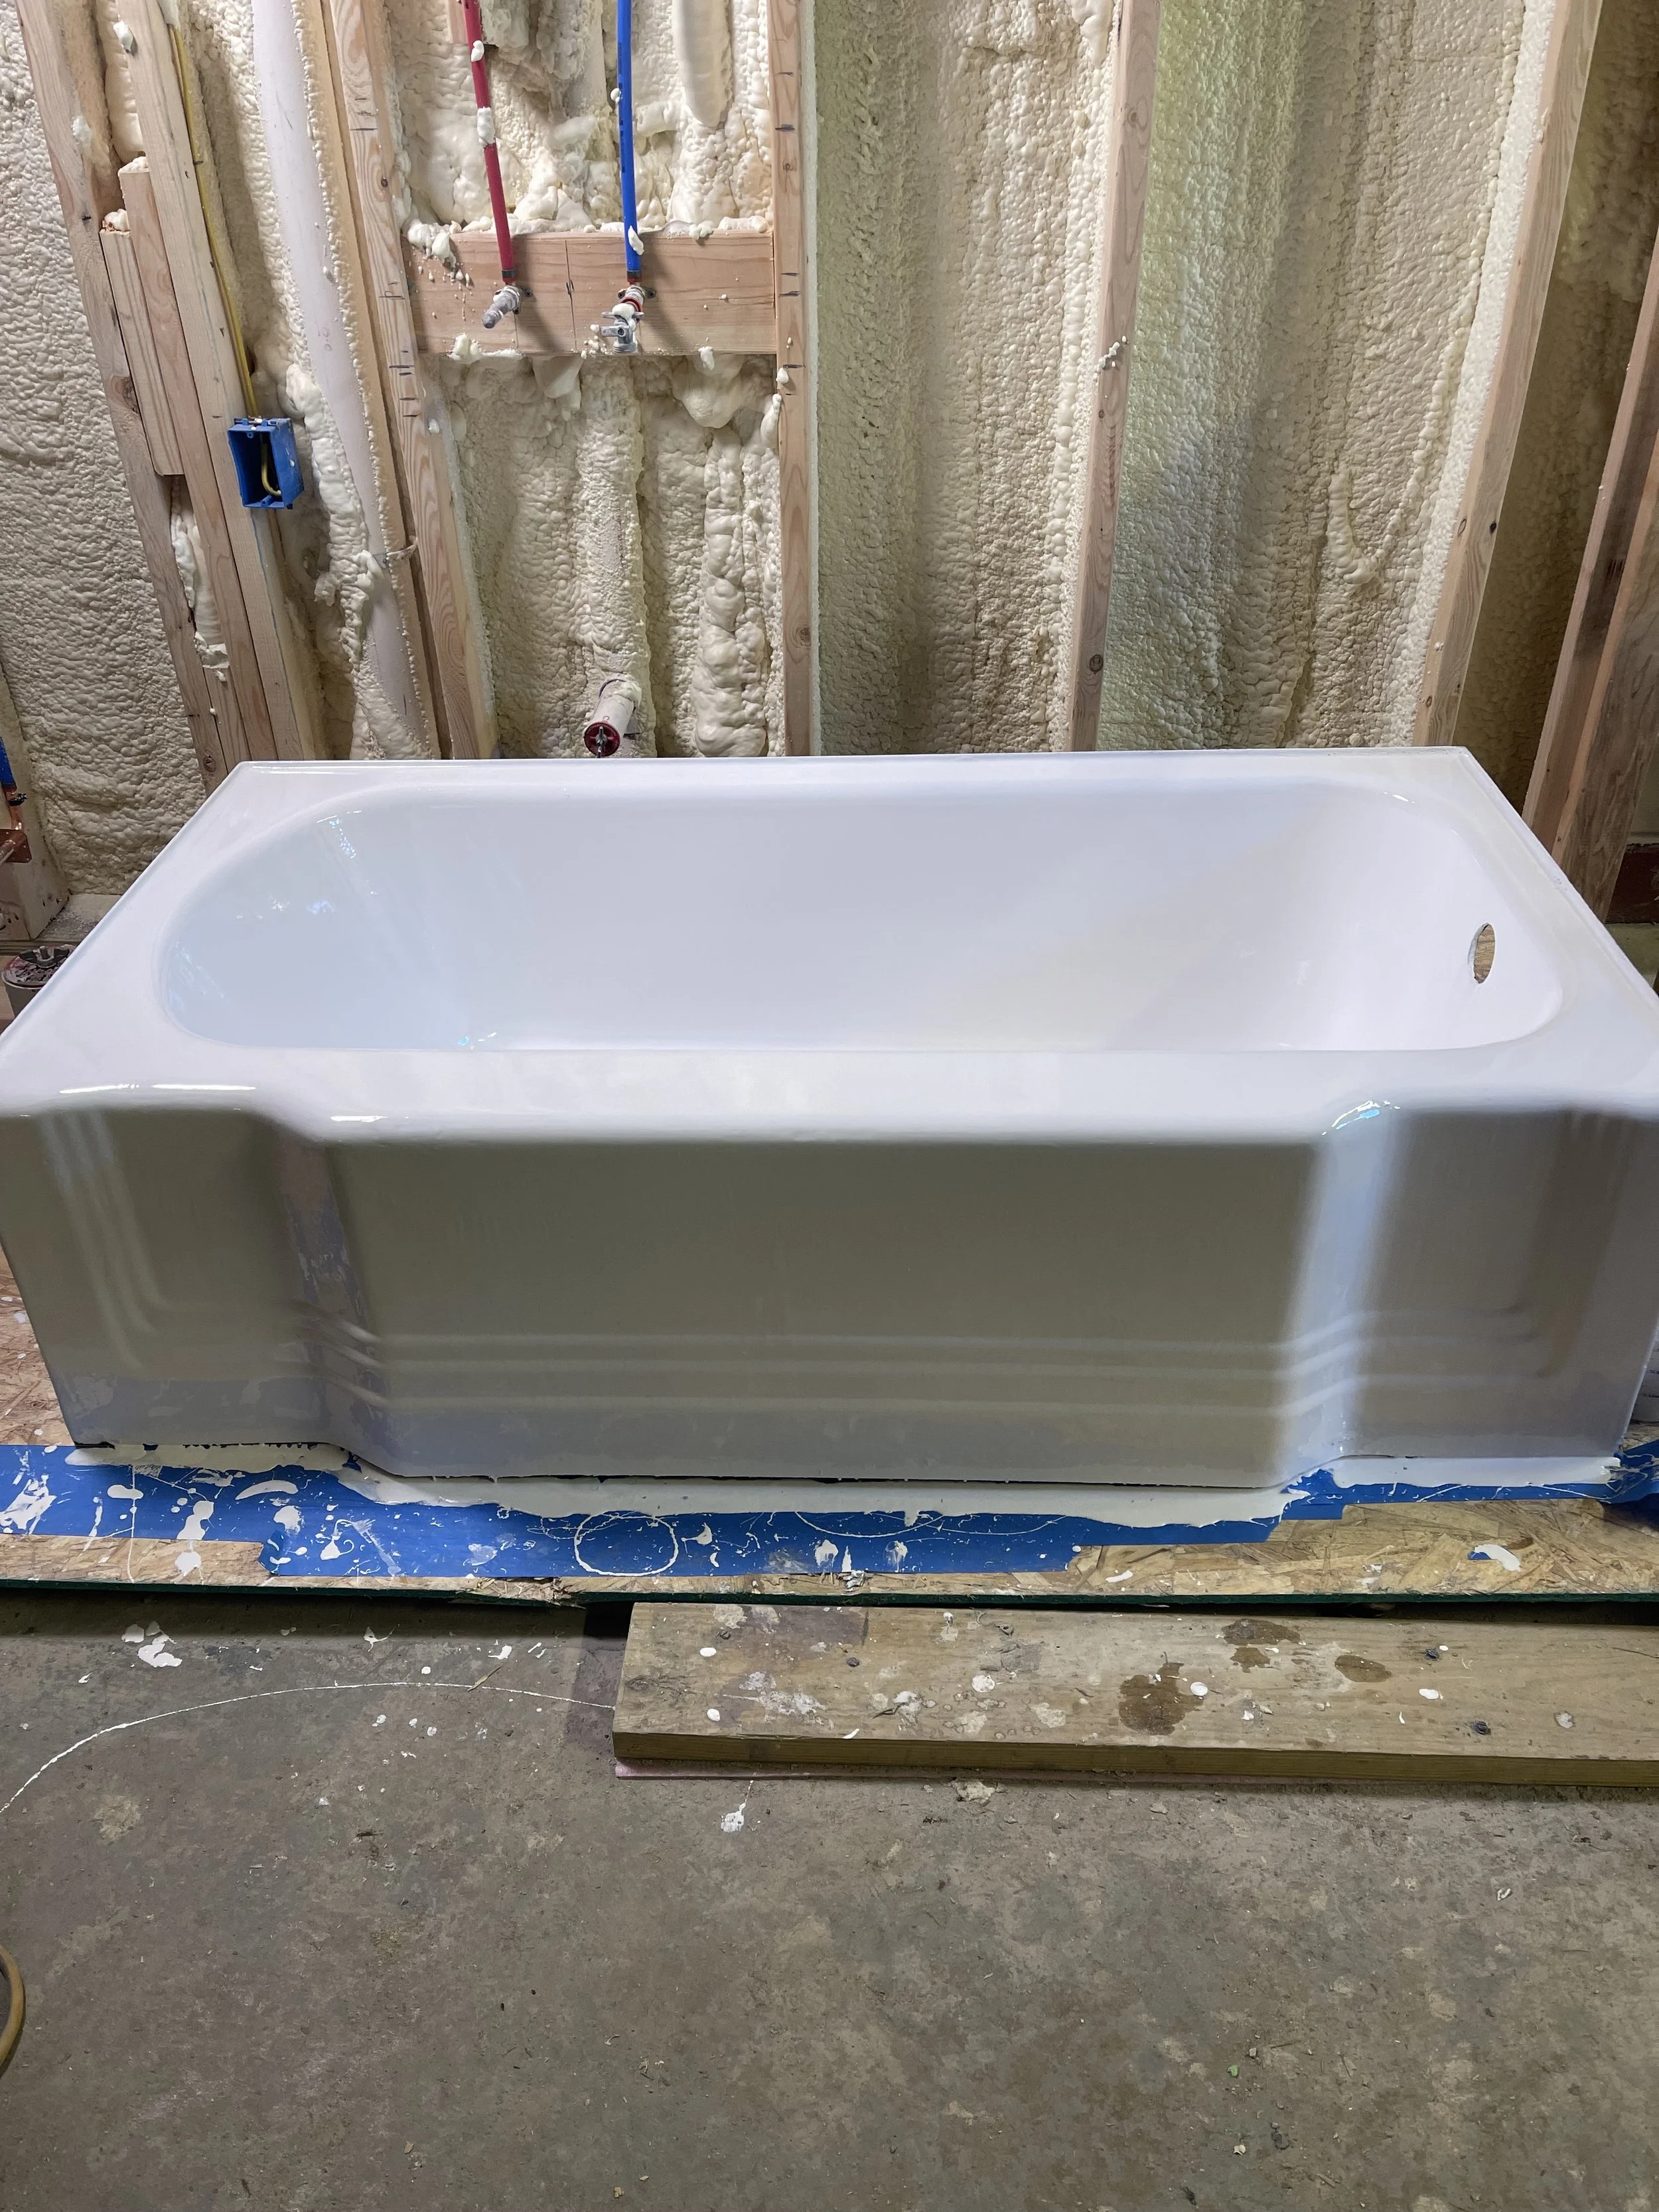
Here’s the before…

and after.
The video will show you every step I take to ensure the best outcome. Let me know what you think in the comments below, and thanks for watching!
👉 Tools used in this video:
Ekopel Tub Refinishing Kit - https://amzn.to/3WQuma6
Abrasive grinder discs - https://amzn.to/3IYyC1O
Rubber gloves - https://amzn.to/45QfPQ8
Heat gun - https://amzn.to/3IYQTMy
Bondo - https://amzn.to/3N00xzI
💥Visit my Amazon Store for all products and tools that I recommend and use on a regular basis 👍 https://www.amazon.com/shop/bathroomremodelingteacher_
Want to support the Bathroom Remodeling Teacher— in style?!? Check out the Official Bathroom Remodeling Teacher apparel line!
For help with your bathroom remodel 🎓Enroll in my courses today 🎓 -
✨ {NEW!} 3 DAY TILED SHOWER COURSE- https://www.bathroomremodelingteacher.com/3-day-tiled-shower-course-detail
🚿 ULTIMATE CURBLESS SHOWER COURSE-
https://www.bathroomremodelingteacher.com/ultimate-curbless-shower-course-detail🛁 —> 🚿 CONVERTING TUB TO WALK-IN SHOWER COURSE- https://www.bathroomremodelingteacher.com/converting-tub-to-walkin-shower-course-detail
🛁TUB/SHOWER BATHROOM REMODEL IN 7 DAYS OR LESS COURSE- https://www.bathroomremodelingteacher.com/tubshower-bathroom-remodel-in-7-days-or-less-course-detail
🚿 CUSTOM TILED WALK-IN SHOWER COURSE - https://www.bathroomremodelingteacher.com/custom-tiled-walkin-shower-course-detail
✨ CUSTOM GLASS ENCLOSURE COURSE - https://www.bathroomremodelingteacher.com/custom-glass-enclosure-course-detail
😄DIY GEEK MEMBERSHIP {ALL 6+ COURSES!}👊 -https://www.bathroomremodelingteacher.com/diy-geek-membership-detail
#diy #bathroomremodel #homeimprovement #howto #tubrefinishing #bathroomremodelingteacher #realestate #renovation #construction #homerenovation #bathroomdesign #work #bathroomremodelingteacher #stevewhite #tipsandtricks #tutorial #howto #interiordesign #electrical #tiledesign
All the tools and products I use and recommend can be found on my Amazon Storefront (detailed in the description box of the video). You can find my Storefront, and all of my other social medias, by going to https://linktr.ee/bathroomremodelingteacher. Any and all purchases from my Amazon Storefront are greatly appreciated and help keep my channel going!
I hope this helps you with your own installation. Subscribe to my channel to make sure you don’t miss a new upload!
See you next class,
Steve